This is an automatic translation generated by artificial intelligence. May contain errors.
Sometimes we may need to write a generic document to send to different people, such as a letter, email, or certificate. Perhaps we want the document to change only in a few places with personal data, such as each person’s name or address. For simplicity, we often choose to do this manually, filling them in one by one; but this means investing a lot of time if the list of recipients is very large. From OfiLibre we want to show you how to automate this process using the Mail Merge tool in LibreOffice Writer.
LibreOffice is a complete office suite distributed as free software. It has the usual tools found in other office suites, such as a word processor (Writer), spreadsheets (Calc), presentation editor (Impress), a drawing and flowchart application (Draw), a database interface (Base), and a mathematical formula editor (Math). It is compatible with multiple document formats, including those of Microsoft Word and Excel, and with the main operating systems: Windows, Linux, and macOS.
Here you can download LibreOffice completely free of charge.
The process
To explain how to automate document creation, we will go through a step-by-step example.
Below we show you how we generated a series of certificates at OfiLibre, using two programs: LibreOffice Calc and LibreOffice Writer. You will also need to have LibreOffice Base installed, the database interface, to manage the interconnection between them.
-
The first step is to save all the personal data in a CSV file. This can be done manually, by writing a spreadsheet with the Calc application. You can also use an existing database or other ways to automate data collection. At OfiLibre we use a Python script that extracts this information from a series of YAML forms contained within Markdown documents.
-
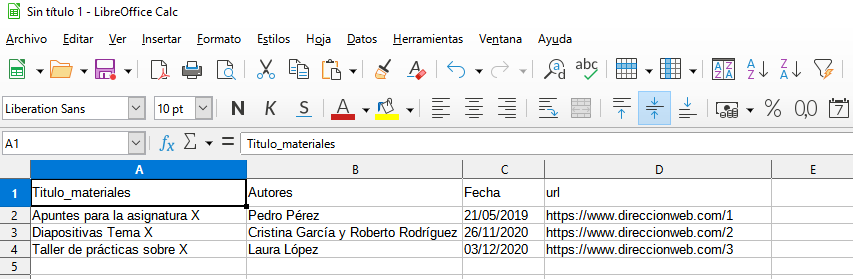
In this tutorial, we will create the spreadsheet manually. The first line must contain the generic name of the attributes, and each subsequent line the values for each individual. In this screenshot you can see how we did it:
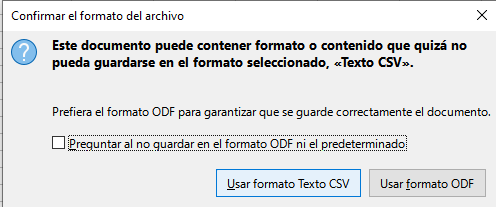
- Next, we save this information in .csv format (comma-separated values). To do this, select the menu File > Save As and from the drop-down choose the Text CSV format. The first time you save as CSV, the following warning message may appear:
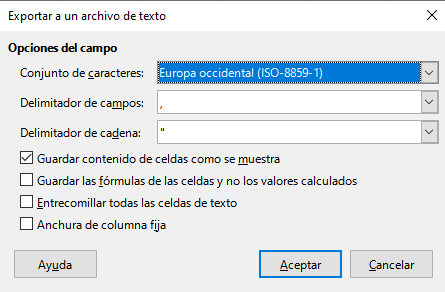
- We choose to continue saving in CSV and can select not to ask us again. Then we will be asked to choose the document’s encoding. To correctly preserve Spanish letters such as Ñ or accented vowels, we will choose “Western European (ISO-8859-1)” and click ‘OK’.
-
Next, we will write the document template in Writer. We write the generic text of the letter or certificate, leaving a couple of spaces where we will insert the personal names and other attributes. We can insert images and format as usual in any document.
-
To import the CSV file, select in Writer the menu File > Wizards > Address Data Source and follow the wizard’s steps. If this option does not appear in Writer, it is possible that Base is not installed. It is necessary for Writer to be able to import databases. As we will see, we can use this wizard to import data from a multitude of different sources. We select Other external data source, click Next and open Settings. We select that the source is a Spreadsheet, browse to the path of our already created .csv file, and test the connection. Since it is a spreadsheet, it will not be necessary to assign the fields.
-
To view the data source tables already in Writer, go to View > Data Sources. A box will appear below the toolbar that allows us to search for our table.

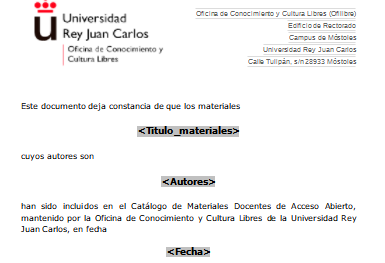
- To insert the automatic fields into the text, select the first cell of each column (which corresponds to the attribute name) and drag it to the desired position in the text. It is possible to modify the text formatting of the attributes. For example, we have put the data in bold and in a larger size, and the text would look like this:
-
If we also want to insert a date field that updates with the current date, select Insert > Field > More Fields and choose Date and the desired format for the date. (We can also select Fixed Date if we do not want it to update).
-
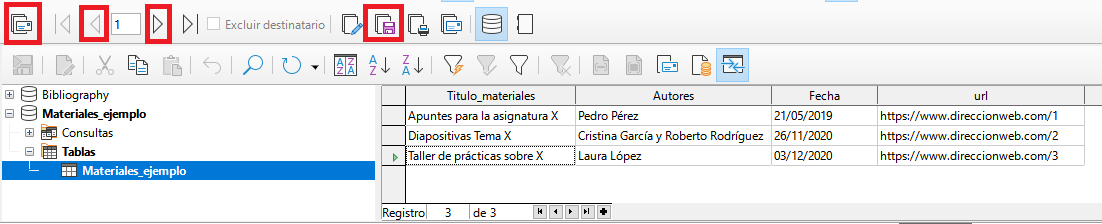
You can preview the auto-generated documents using: Tools > Mail Merge Wizard and selecting Next > Next > Next > Finish, without changing anything else. This tool also has many other options and would allow us to import data, but on this occasion we will only use it to see a preview of the documents. Another toolbar will appear at the top, which allows you to page through the documents generated for each person, and save the certificates as a single document, or as individual documents. You can choose to save in the format you want, for example as .pdf, or as .odf (the editable equivalent to Word’s .docx).
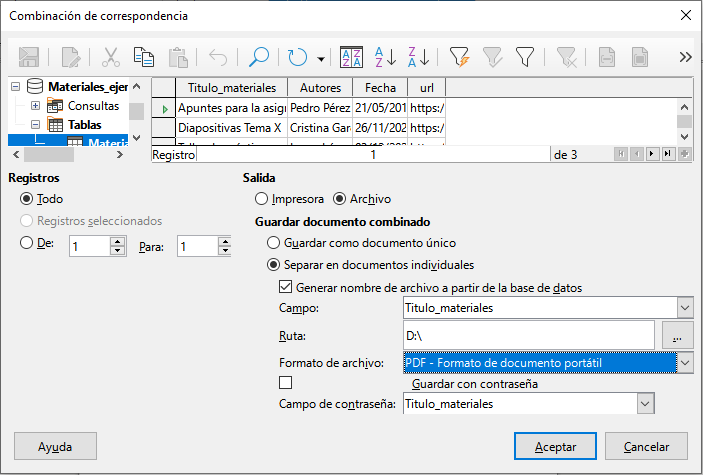
- We could also export the final documents by directly clicking File > Print and pressing ‘Yes’ to open the Mail Merge dialog. There you can choose which rows are exported, and the name, path, and format of the exported documents.
- And with this we would already have our customized letters or certificates, automatically generated from a data table.
Files and links of interest
Below we provide the test files we used to carry out this tutorial: